Here's a step by step guide on how to create a new workflow, add trigger and action steps, and finally, set the workflow Live to start accepting data and execute it.
1. Go to FlowMattic — Dashboard
When you're logged-in to your WordPress site, go to FlowMattic -> Dashboard admin page. You'll be presented with a admin page with navigation to various admin pages, welcome message, your recent workflows, product registration info box etc.
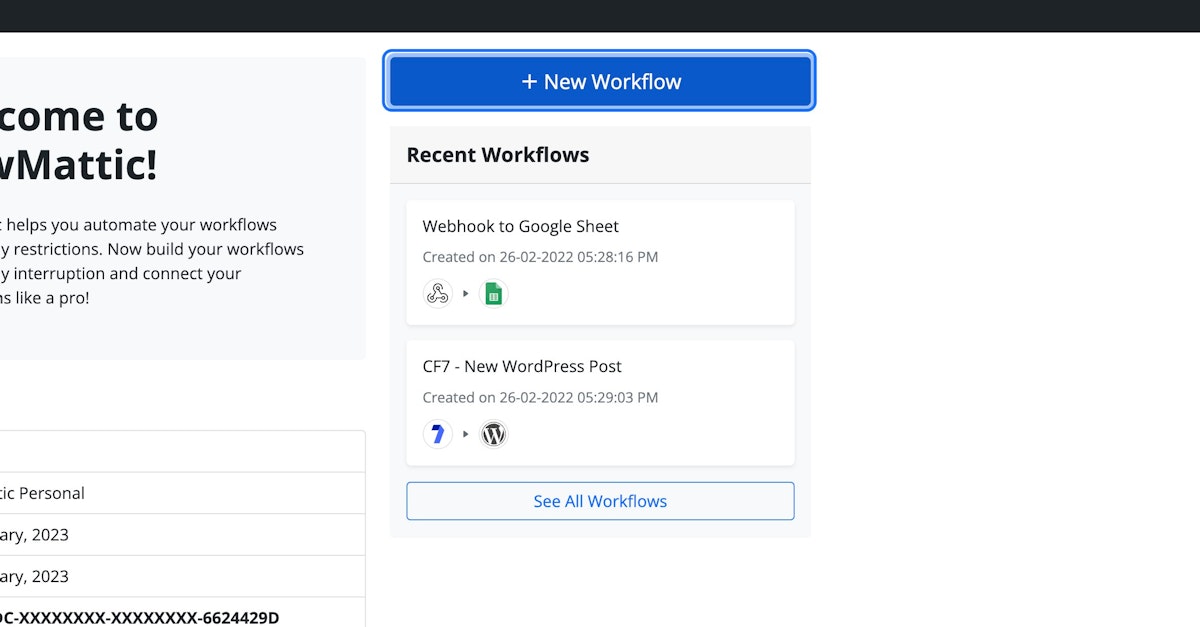
2. Click on New Workflow Button on the top right side
To create a new workflow, you need to click on the + New Workflow button on the top-right side in the dashboard admin page, or you can also create the new workflow from the Workflows admin page, by clicking on the new workflow button.
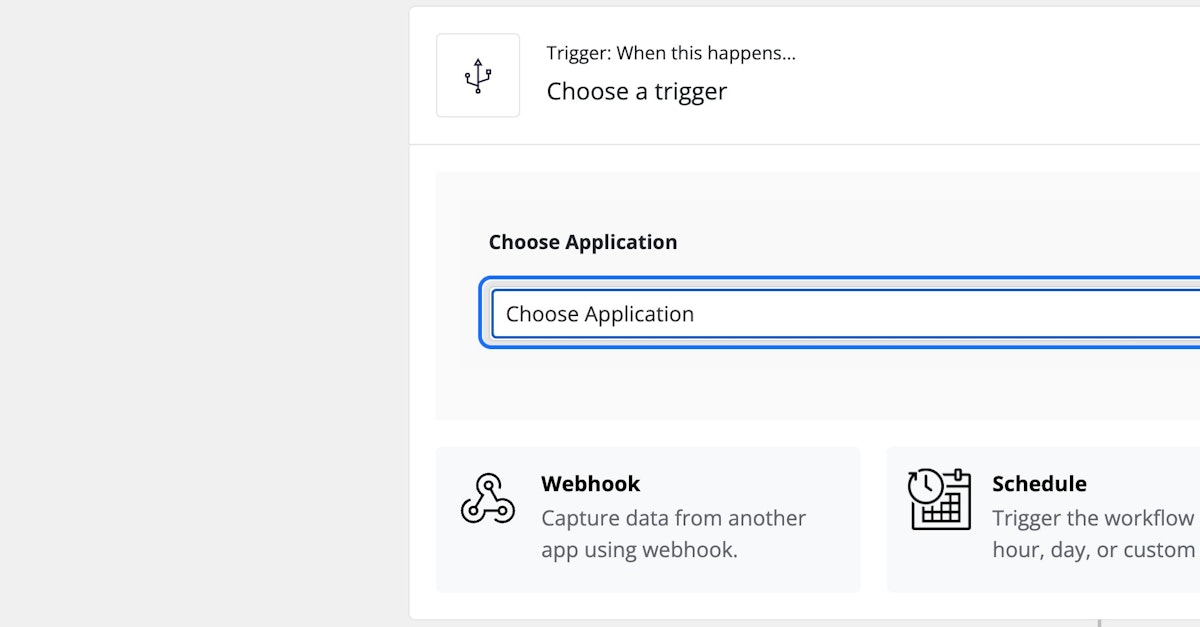
3. Choose your trigger application
The Trigger application provides the data for your workflow, or you can schedule the workflow to be executed on a certain time set. To choose your trigger application, click on the Choose Application dropdown. You can also select the applications highlighted under the dropdown, by just clicking them.
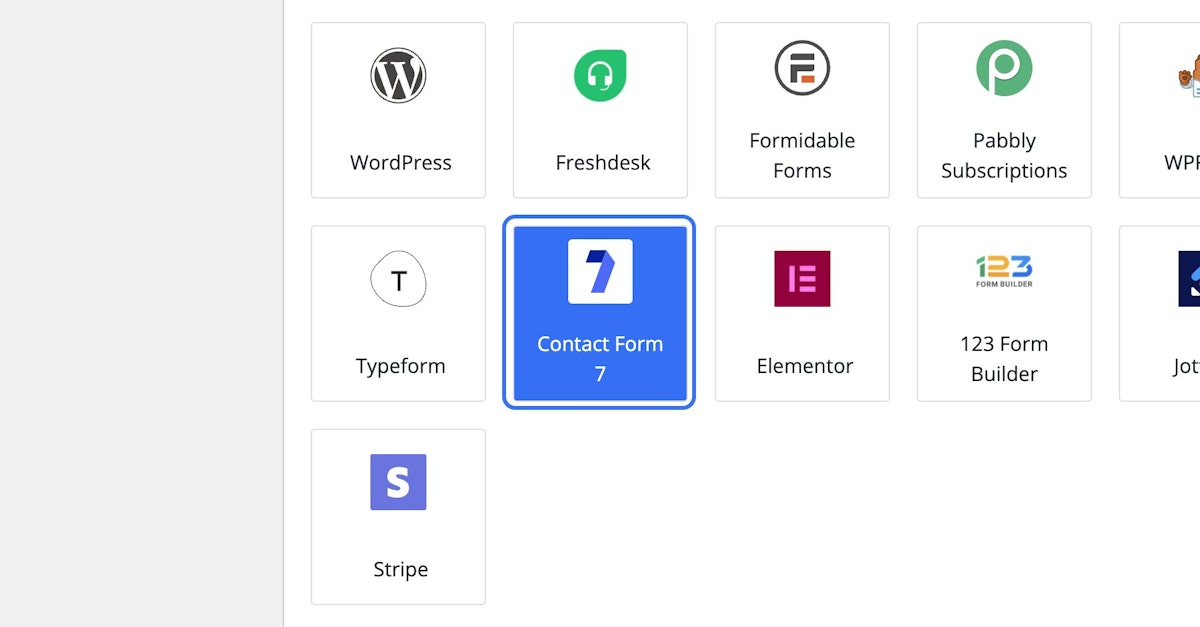
4. Choose your preferred application from the list
Once you click on the Choose Application dropdown, you'll be presented with a list of applications with their icons and titles. Choose your application that you want to pull the data from for the workflow. Eg. Contact Form 7.
5. Select the application event that will trigger the workflow
Once you choose your trigger application for the workflow, you'll see the list of events as next step. Choose your trigger event ( An action performed by the selected application that will pass data to your workflow. ) to proceed further.
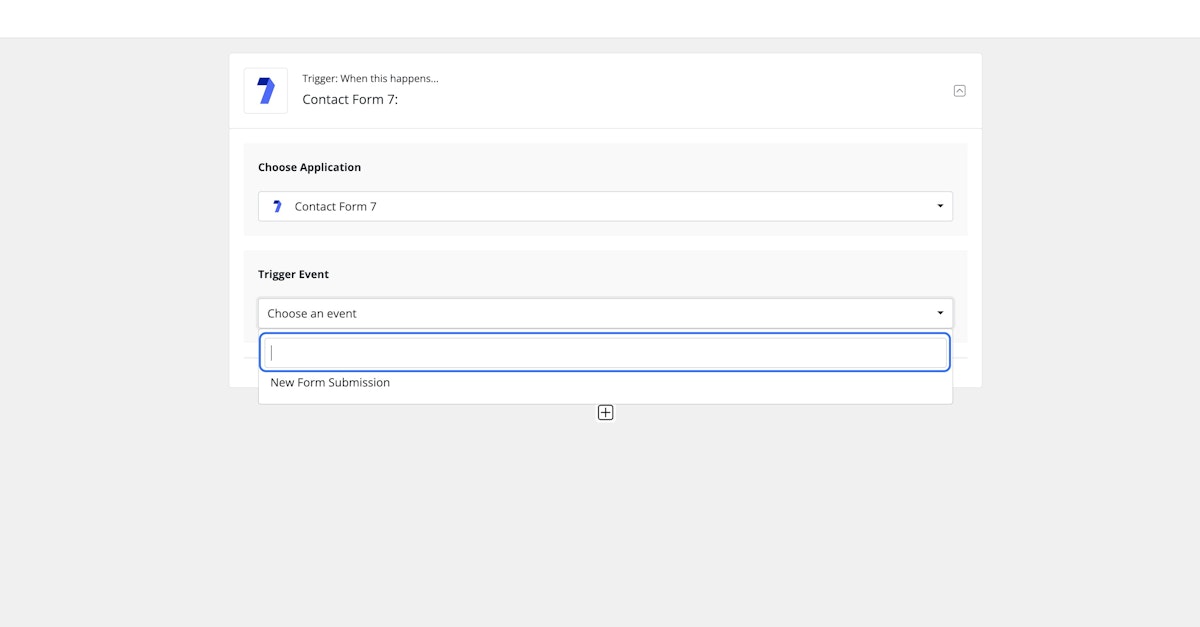
6. Further options will be displayed
Depending on the application selected and the trigger event, the required options will be displayed next to the trigger event option.
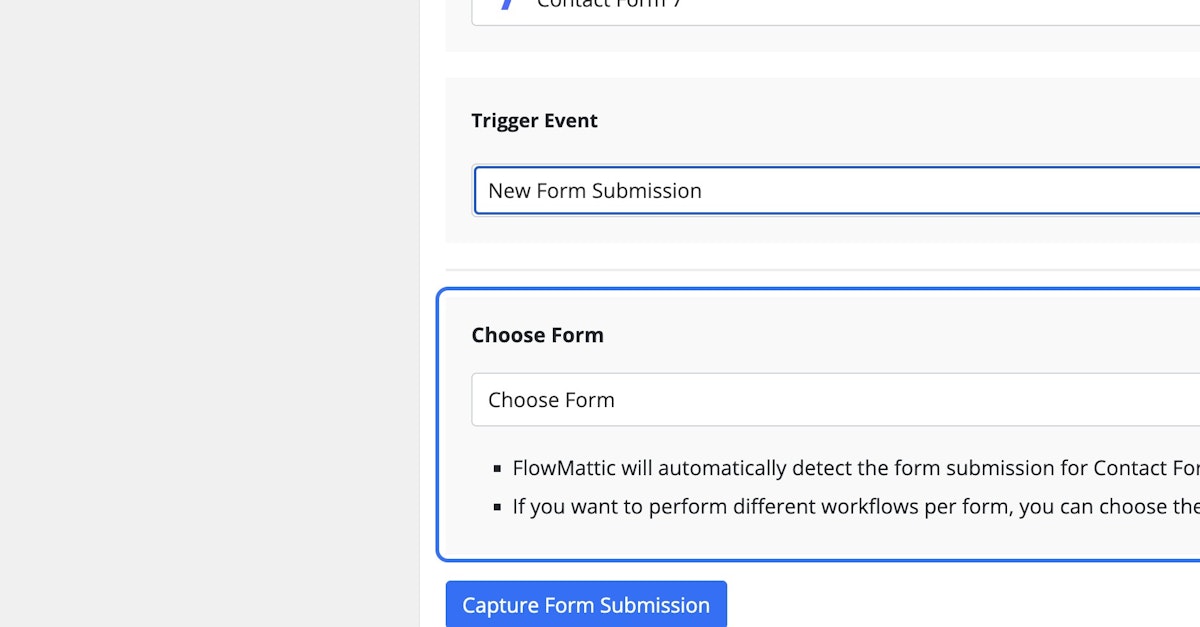
7. Select options as required
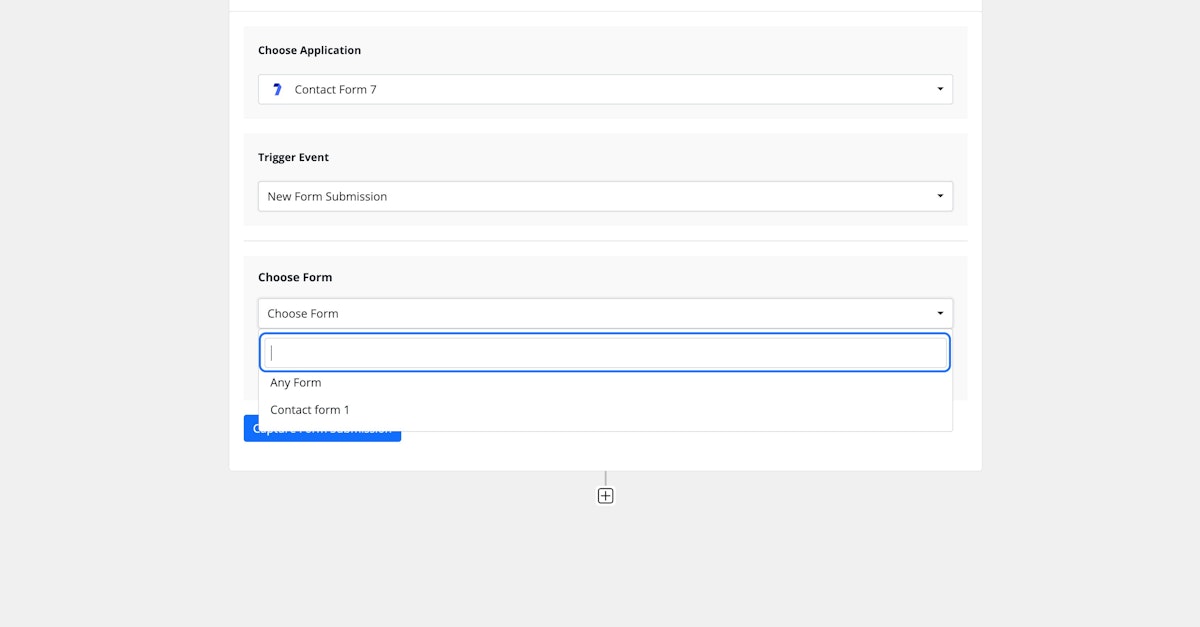
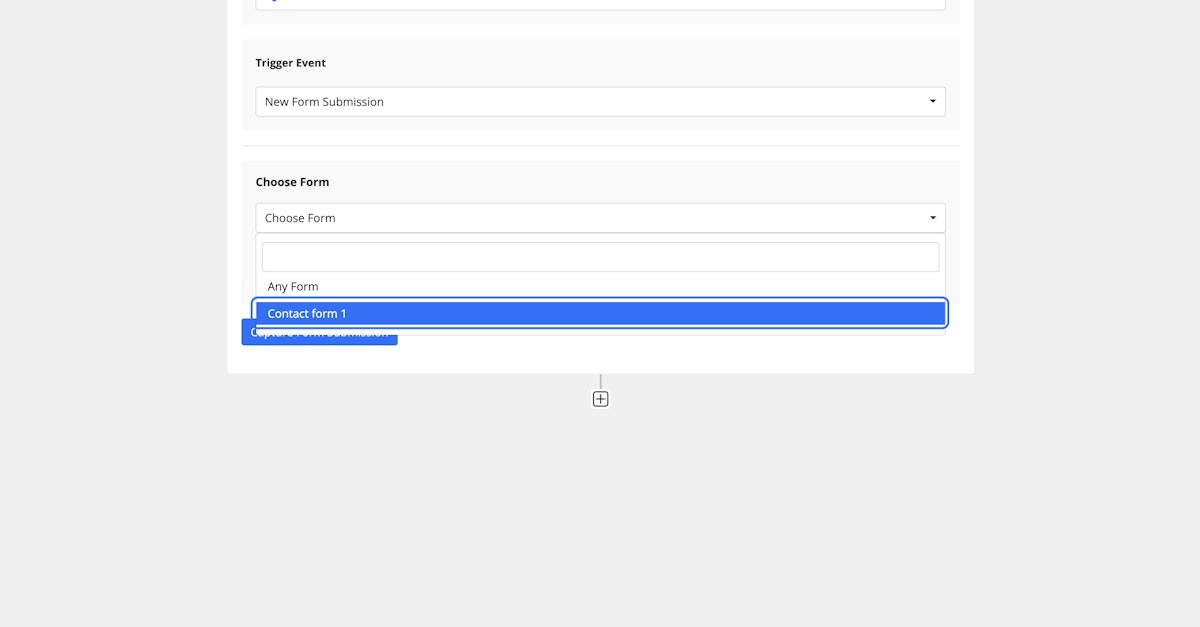
8. Select data source
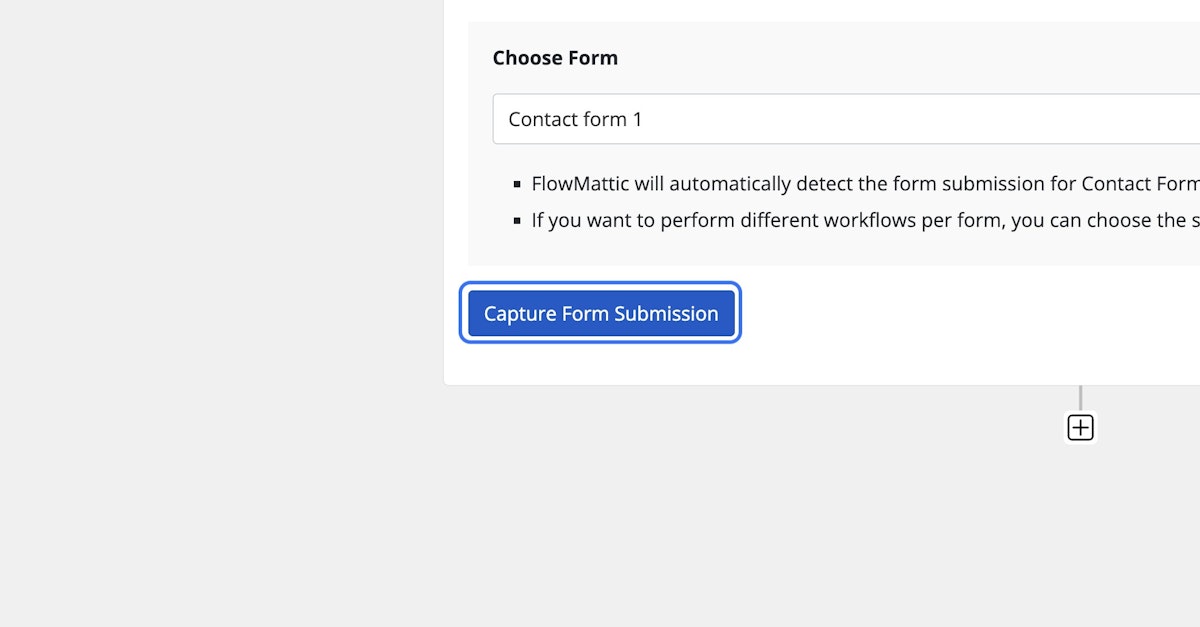
Data source is not available for all the trigger applications. It is mostly available for a few WordPress plugins, like Contact Form 7. In this step, lets select the available form from the list.
9. Capture the trigger application response
Once you've set all the required fields, and ready to submit sample data to your workflow, just click on the capture submission button, and pass data to your workflow. E.g. Here, we will submit a form using the contact form selected in the previous step. The form submission data will be displayed next to the submission button in a tabular format as Key => Value pair.
10. Close the trigger application step
Click on the toggle icon to close the trigger application step, so we can focus on the next step configurations.
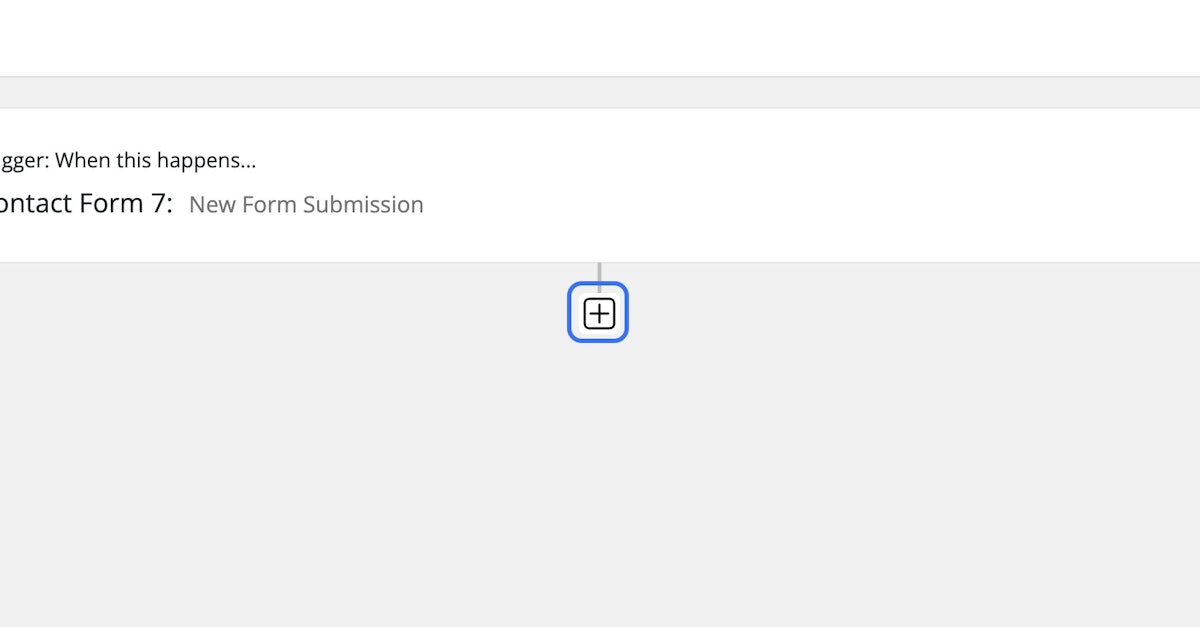
11. Click on the plus icon to add new step
Click on the plus icon next to the trigger step to add a new action step. Action step is executed as soon the trigger step execution is completed, and the trigger step passes the data to the next step. Unlike trigger step, the action step help us manipulate the data and process it. You can store the data in other application eg. Google Sheet or sent it to another application etc.
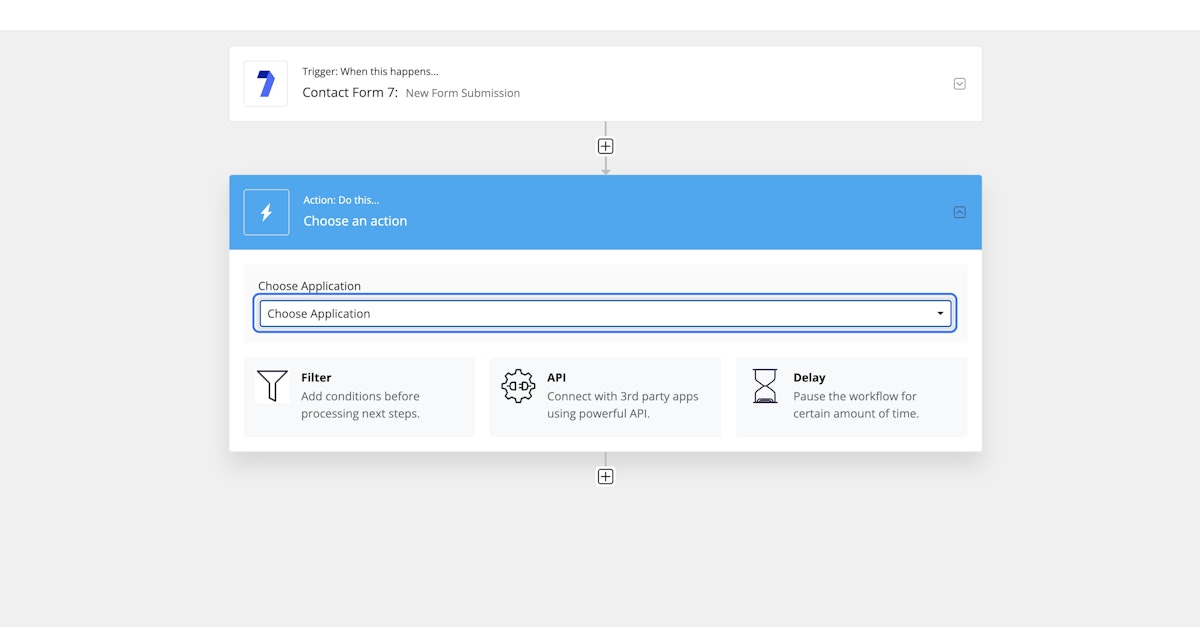
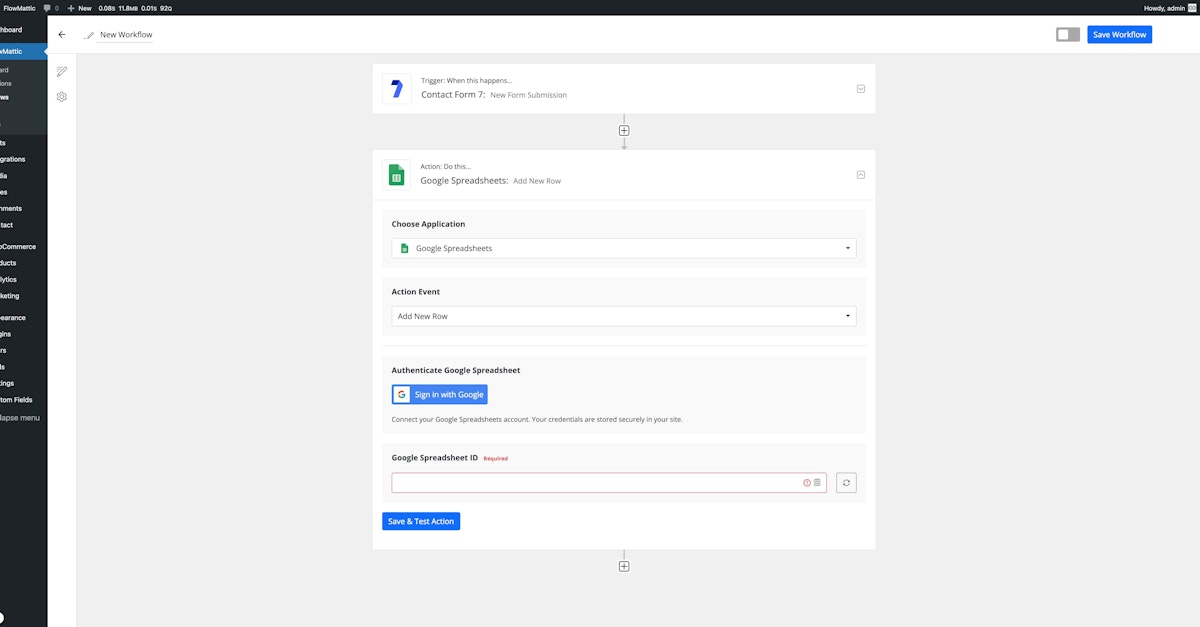
12. Click on Choose Application
Similar to the trigger application, you need to choose the application or plugin you want to perform an action on.
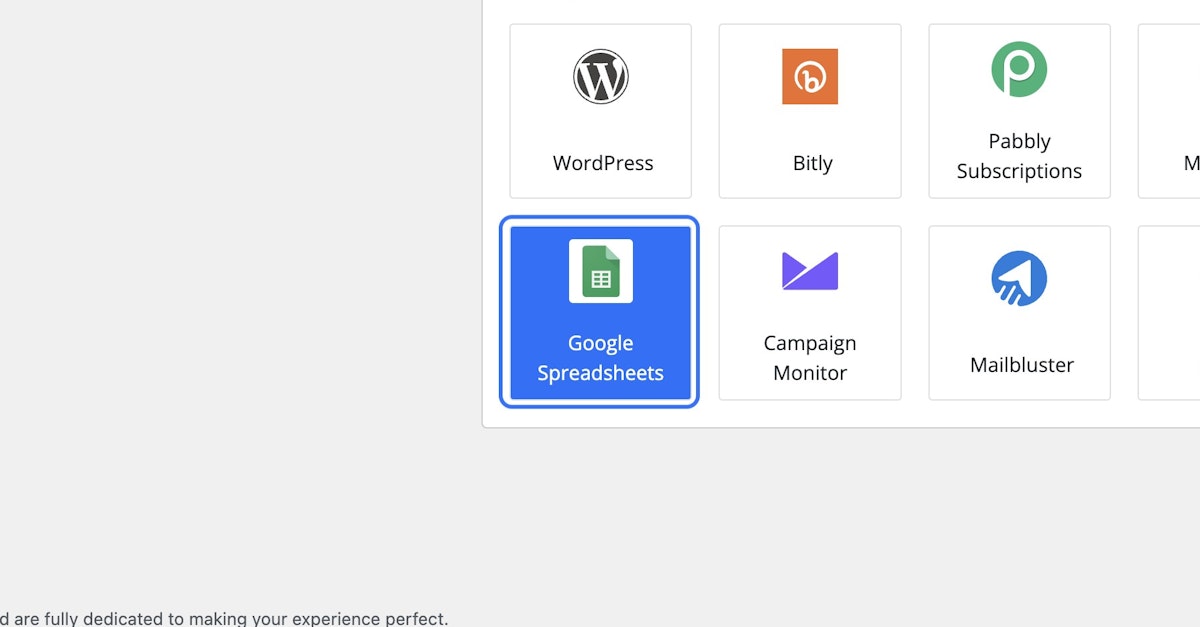
13. Select the application from list
Lets select Google Spreadsheet as an example. We can pass the data received in trigger application step to any application available under the Action step. Here, we will send the data to Google Sheet to create a new row with each form submission.
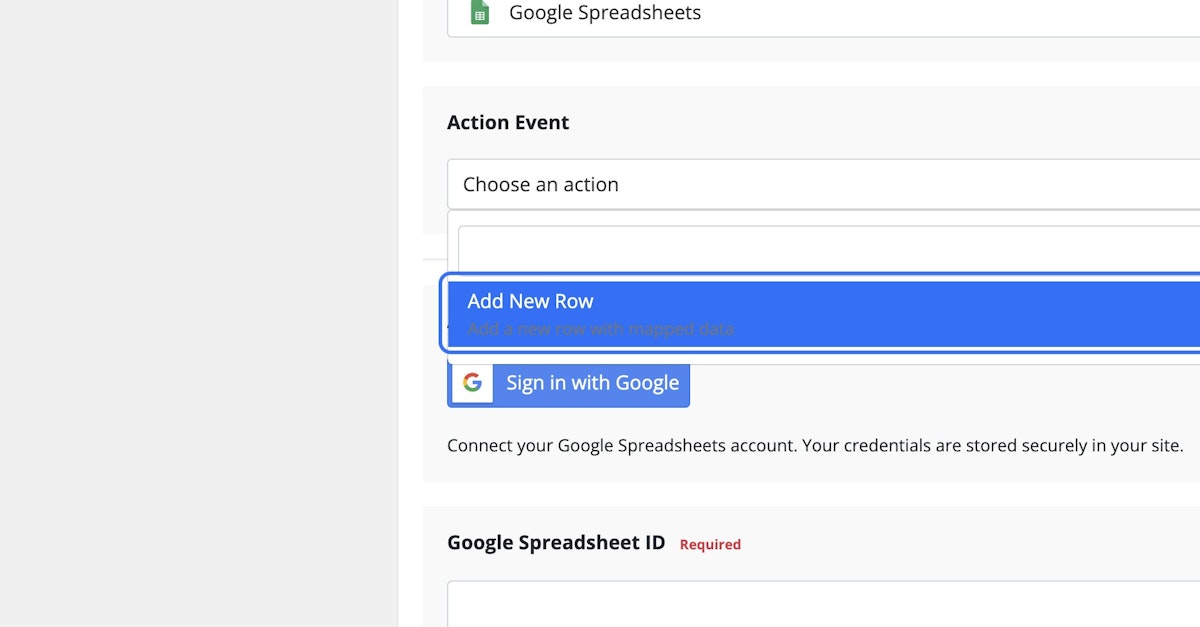
14. Choose the action
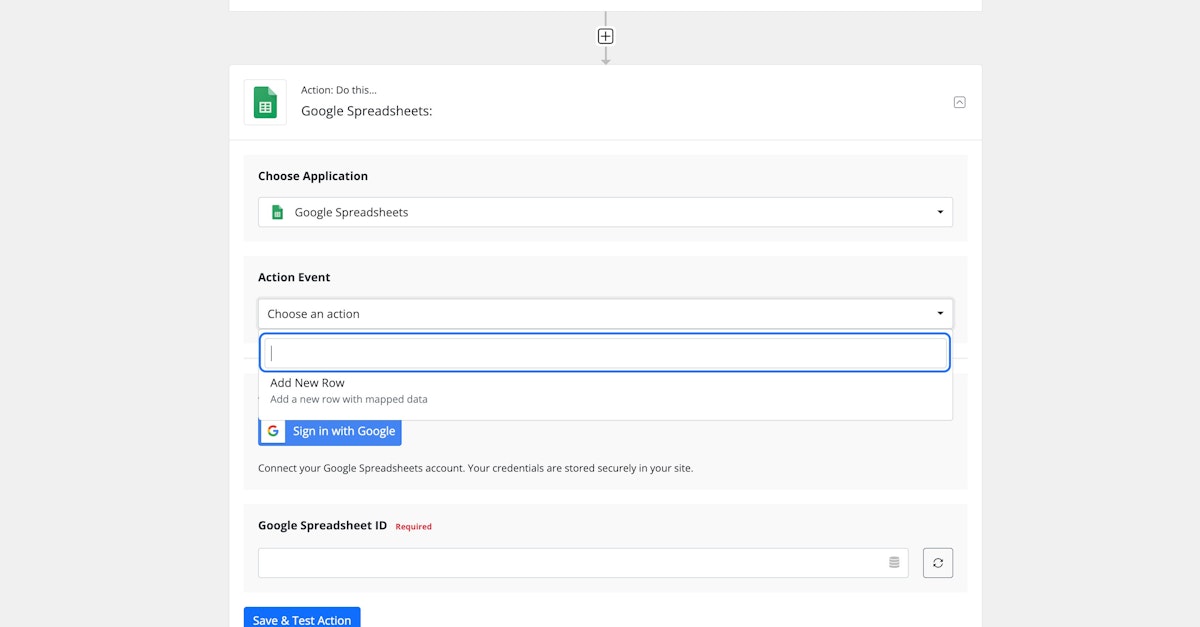
15. Fill the required details
You will be presented with new options for all the details required to fulfill the task requirements for each application and the action you selected. Fill all the details and proceed to Save and Test the action step.
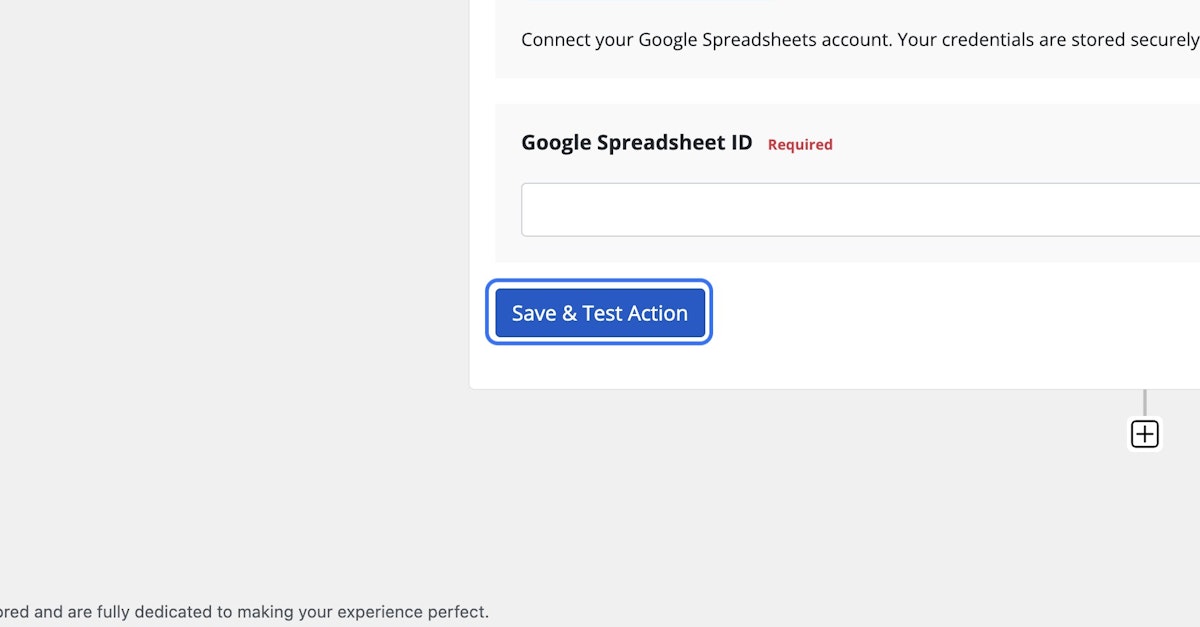
16. Click on Save & Test Action
Once you are ready to test your action step. Just click on the Save and Test Action button at the end.
17. Check required form fields
If you have missed any required field, the plugin will display a red flag around the input field. Make sure you fill in all the details carefully and then click on the Save and Test Action button. Upon successful test, you'll be presented with the response data in a tabular form as Key => Value pair, similar to the trigger action submission data.
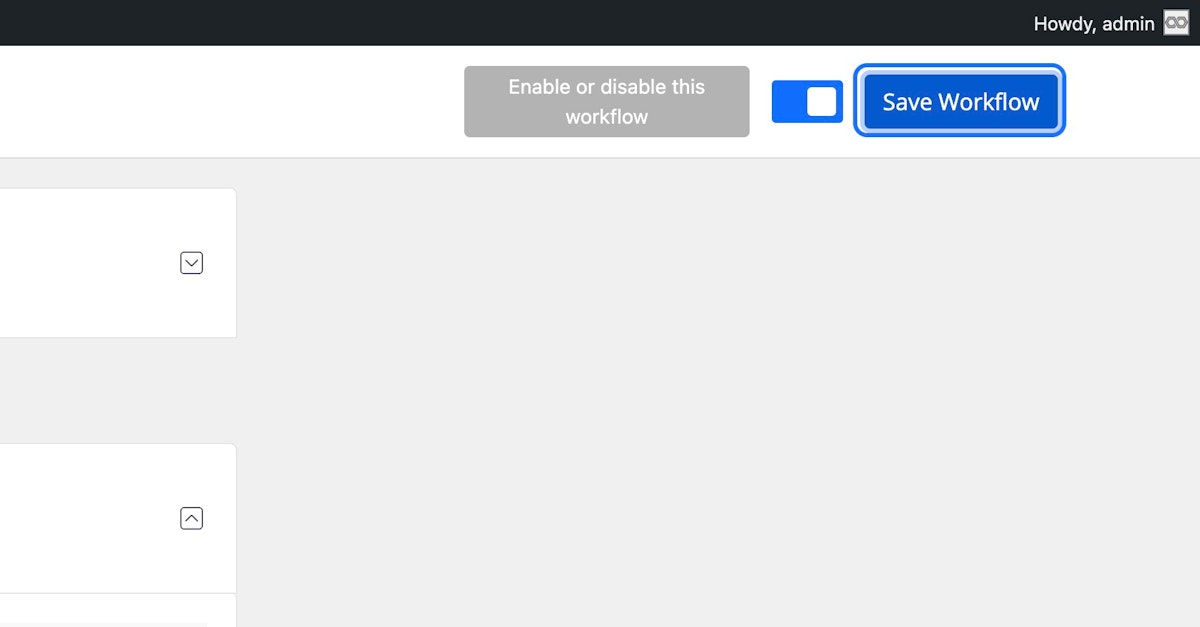
18. Turn ON the workflow
Once you are done with all the action steps and their tests, turn the workflow ON.
Please note: Even if you have filled in all the details, and run all the tests successfully, the workflow might not be executed if it is not turned ON. By default, all the new workflows are set to be OFF to avoid unintended task executions.
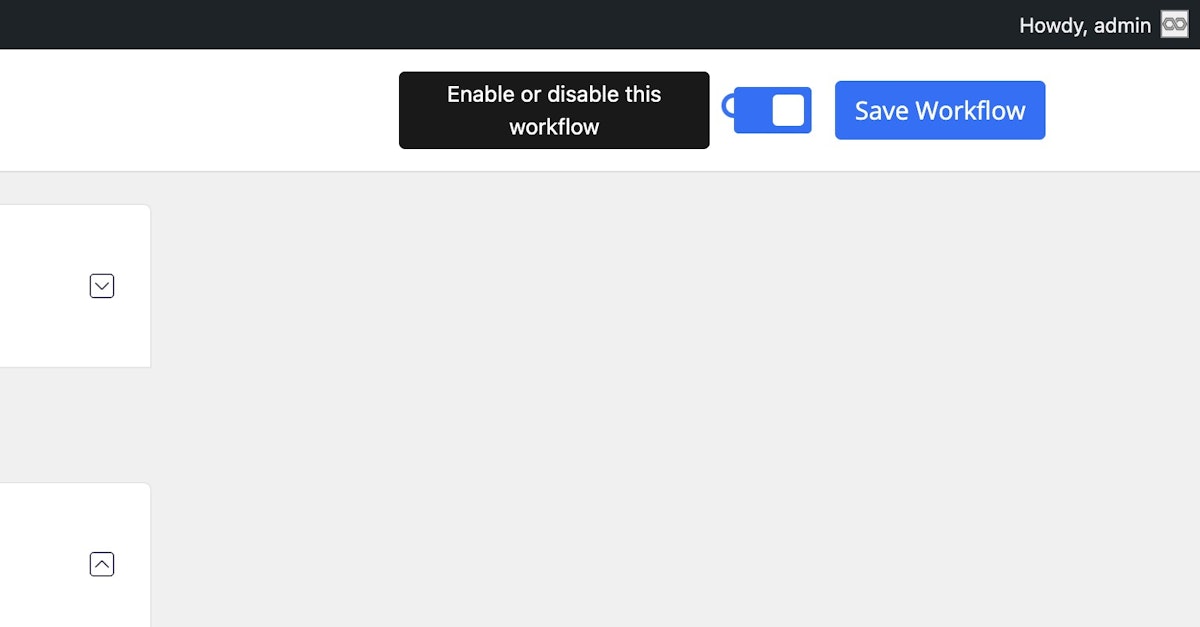
19. Click on Save Workflow
Finally, save the workflow and it will be LIVE!
Now, try submitting a form that will trigger the workflow and see the magic!!